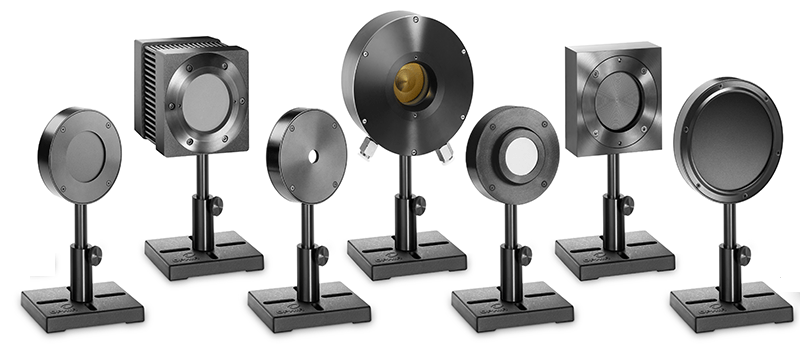
Integrating spheres are very useful for collecting light to be measured. However it is very important to understand how integrating spheres work in order to be assured that measurements made are meaningful. Any change made to the sphere geometry can produce a change in the light signal measured. Adding or removing white reflective port plugs or port reducers will change readings made. Even a light source located close to the input port or a detector added to an auxiliary port can make a significant difference. By understanding how integrating spheres work and knowing how to compensate for changes, serious pitfalls can be avoided.
Light entering an integrating sphere is incident on the highly reflective, highly diffusive inner walls. There it is reflected and spread out over the interior surface of the sphere where it is again reflected and spread out. This process is repeated for dozens of reflections, spreading the light out uniformly over the interior walls until it either
1. Reaches the detector port
2. Exits one of the other ports
or
3. Is absorbed by the sphere walls
In order to achieve a sufficient number of multiple reflections, the interior walls of the integrating spheres need to have very high reflectance (95% – 98% or higher) that is very diffuse. Also the area of the ports should not be more than 5% of the total interior surface area. Because of the multiple reflections, small changes in the wall reflectance will have an amplified effect on the amount of light reaching the detector. Changes in the ports, due to addition or removal of port plugs and/or port reducers, or other modifications will have the same effect. Even the reflectance of a light source being measured (if it is located close enough to the input port) can contribute to the multiple reflections, changing the sphere throughput.
The fact that integrating spheres are so sensitive to small changes leads to an important practical question: if my integrating sphere with detector is calibrated for a specific working configuration, how can I make accurate measurements with different working conditions?
Fortunately the answer is not complicated. Integrating spheres are linear devices. So it is possible to measure the difference between the two sphere configurations and calculate a scale factor to be applied to measurements made in order to correct for the changes. This requires just two measurements, one in the desired working configuration and the second in the nominal sphere configuration. The two measurements should be made with a test light source that is similar in its spectral characteristics to the light source of interest and great care should be taken to assure that the amount of light entering the sphere is identical for both measurements.
(Note: If the change in sphere configuration is at the input port, it may not be practical to perform the two measurements while illuminating the sphere through the input port. In this case the auxiliary, North Pole port can be used. Removing a port cover does not change the integrating sphere functioning because the reflectance of the black surface used in port plugs is very close to zero.)
The ratio of the two measurements (Nominal configuration / working configuration) is then used as a scale factor for all measurements to be made with the working configuration.
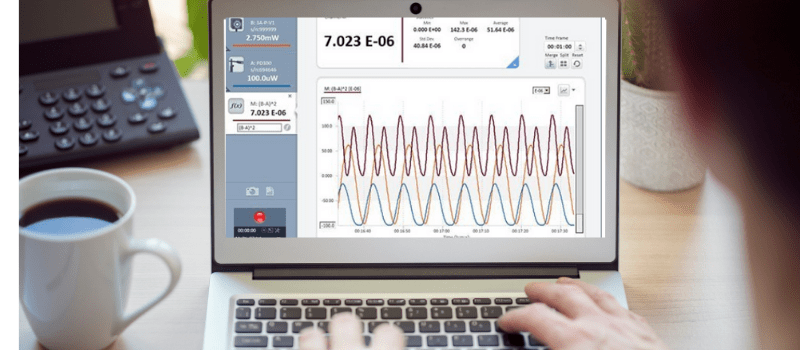
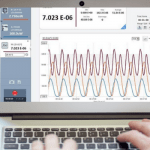
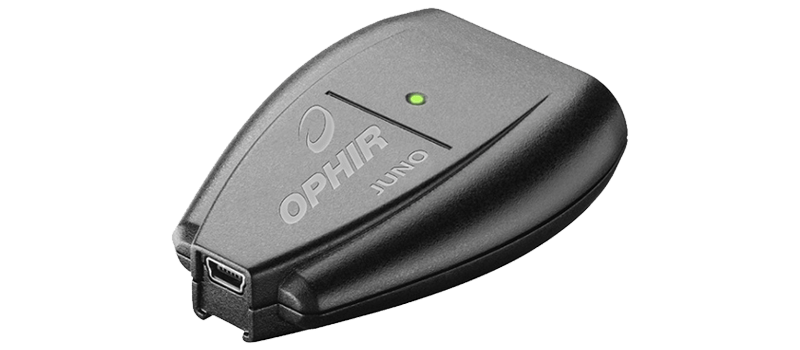
Next week we’ll walk through an easy procedure for doing this using the StarBright meter.
…
(What we talked about last week…)
The StarBright meter makes it very easy to calculate and enter the required scale factor. The steps required are:
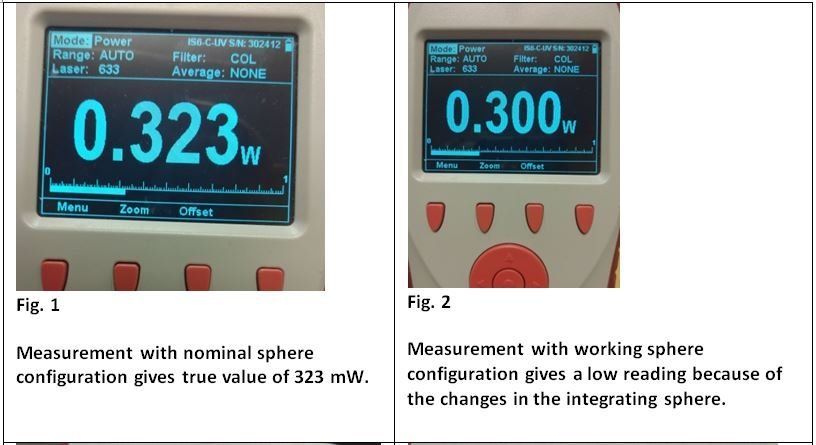
1. Measure with the integrating sphere in the desired working configuration.
a. Setup the integrating sphere in the desired working configuration.
b. Measure the test light source.
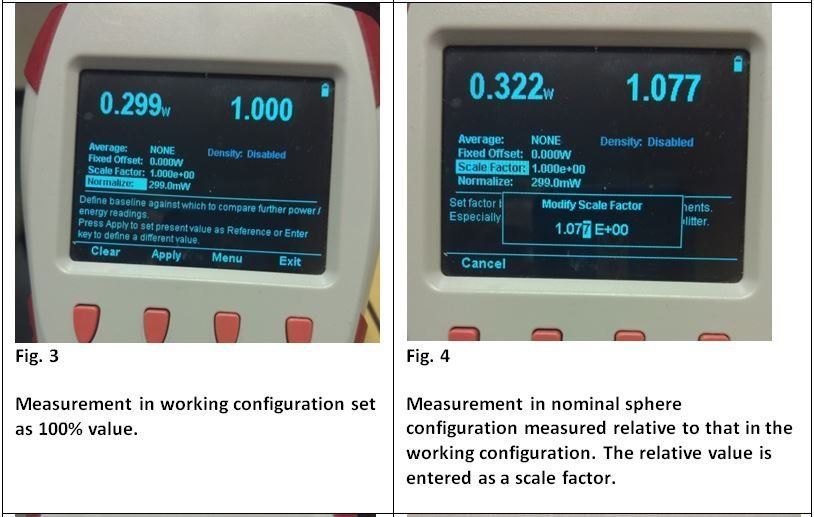
c. While still measuring, use the Normalize function (Menu, Functions, Normalize, Apply) to set this reading as 100%.
2. Measure with the integrating sphere in its nominal configuration.
a. Setup the integrating sphere in its nominal configuration (as received).
b. While in the same Functions screen, measure the same test light source.
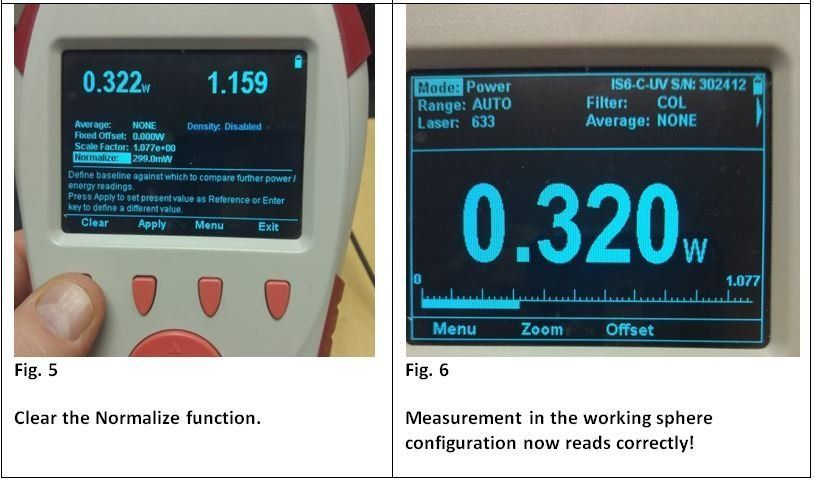
c. Two readings are shown at the top of the StarBright screen. The absolute reading is on the left and the relative reading is on the right. Enter the relative reading as the scale factor. Make a note of the scale factor for future reference.
d. Return to the Normalize function and press Clear.
e. Return to the main screen. Return the integrating sphere to your working configuration.
f. YOU’RE DONE!
The readings are now scaled to provide accurate absolute readings.
By understanding and following this procedure, you can customize the configuration of your sphere without fear.
Important: If you change the integrating sphere back to its original configuration, or if you use the StarBright with another sensor, remember to cancel the scale factor. When the integrating sphere is used again in the same working configuration, the recorded scale factor can be entered.


Leave a Reply
Your email address will not be published. Required fields are marked *