We are proud to announce that Klaus Hansen is the winner of our Facebook beam profiling image contest. He entered the picture below – “advanced beam shaping for laser cutting and welding.”
Want to know how and why he profiles his laser systems? Want to find out the trick he uses to make laser alignment a snap? I asked him a few questions about his method and motivation.
Here’s what he told me:
General Questions
What does IPU use lasers for and what is your role there?
IPU has many years of experience within the field of laser material processing. Currently we are running two research projects: ROBOCUT and DOEFLAC. They are both on applying beam patterns for laser cutting. DEOFLAC aims to improve cutting speed and quality with assist gas. ROBOCUT has to some degree the same goals but doesn’t necessarily use assist gas.
I am doing an industrial PhD at the moment on multi-beam fiber laser welding, where I use beam patterns to solve specific problems within laser welding. More details are to be published during LANE2014.
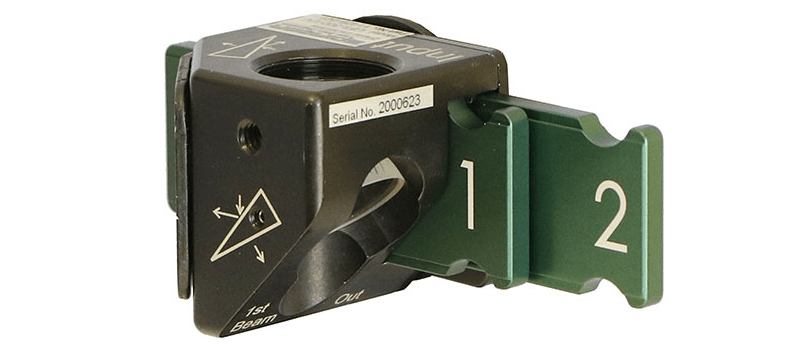
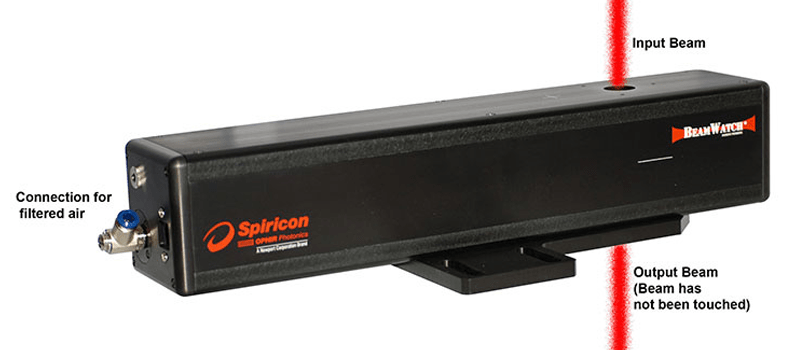
As a part of my PhD I have written an article about design of measurement equipment based on a Spiricon SP620U camera with two LBS300 beam cubes: Design of measurement equipment for high power laser beam shapes (p. 303 in this PDF).
Why is it important to you to measure the lasers?
We have used it to examine the laser’s mode and fundamental properties like M2, propagation, beam diameters etc.
Further, we have a large demand for analysis of the beam pattern produced and to compare the achieved results with the produced beam patterns. We have used the camera to verify the produced beam patterns. When we had a manufacturer produce a diffractive optical element (DOE), we needed to verify the delivered quality and how the DOE performed in the real world. For this we used a low power beam and our Spiricon camera.
Laser Measurement
Can you tell me a little bit more about the different equipment you use to measure and track your laser system?
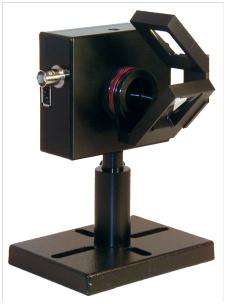
We use an LBA230LW camera with beam-splitting wedges and ND-filters in front of the CCD chip. We have mounted it all in a home-built suspension system which allows us to change tilt, yaw, rotation and X,Y and Z position to ease the alignment process.
How often do you take measurements of your laser system performance?
We work with the beam patterns on almost daily basis, so I don’t have many days on lab without having started the camera software.
How do you apply the information gleaned from the measurements?
Alignment procedures, verification and as documentation.
Is there any part of measuring your laser that is difficult or time consuming?
Change of attenuation in front of the CCD chip is always a little time consuming. Here a system like the LBS300 would help, but it doesn’t fit in the suspension system we built.
If you could go back in time to when you just started working with lasers, what laser measurement advice would you give to your younger self?
It was only after some time that we constructed the suspension system which allowed the 6 degrees of freedom for aligning the camera to the beam. This should have been done much earlier.
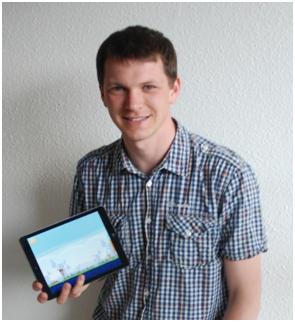
Thank you so much Klaus! Hope you continue to have success in all your laser cutting research. Enjoy the iPad!
Question: This is the first interview that appeared on the blog. Would you like to see more? Let me know in the comments.




It is interesting how specialized persons involved in the laser industry improve their technical measurement.