Discover how BeamSquared’s Auto ISO feature revolutionizes laser beam measurement by automating ISO-compliant M² assessments, enhancing safety, ensuring strict adherence to industry standards — with no manual input required
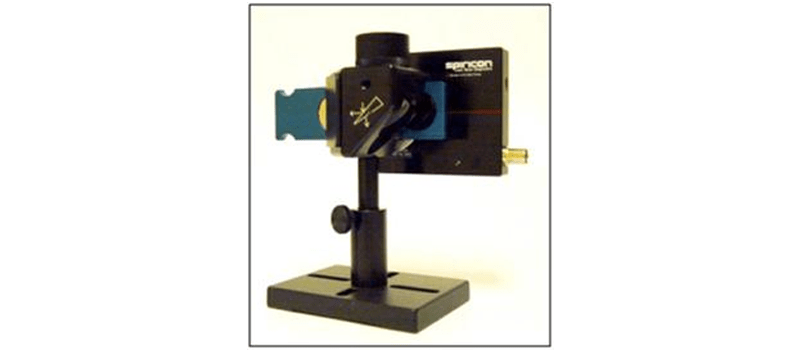
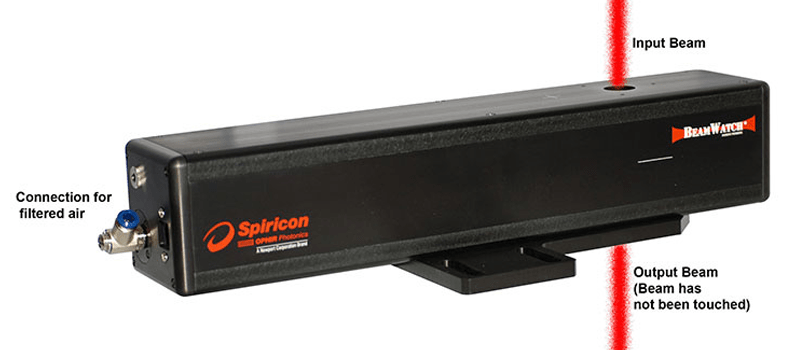
BeamSquared is a powerful device designed to measure critical parameters for laser manufacturers and applications where controlling laser quality is of utmost importance. Specifically, it focuses on measuring the propagation characteristics of continuous-wave (CW) and pulsed lasers.
Applications where M2 measurement is necessary and why?
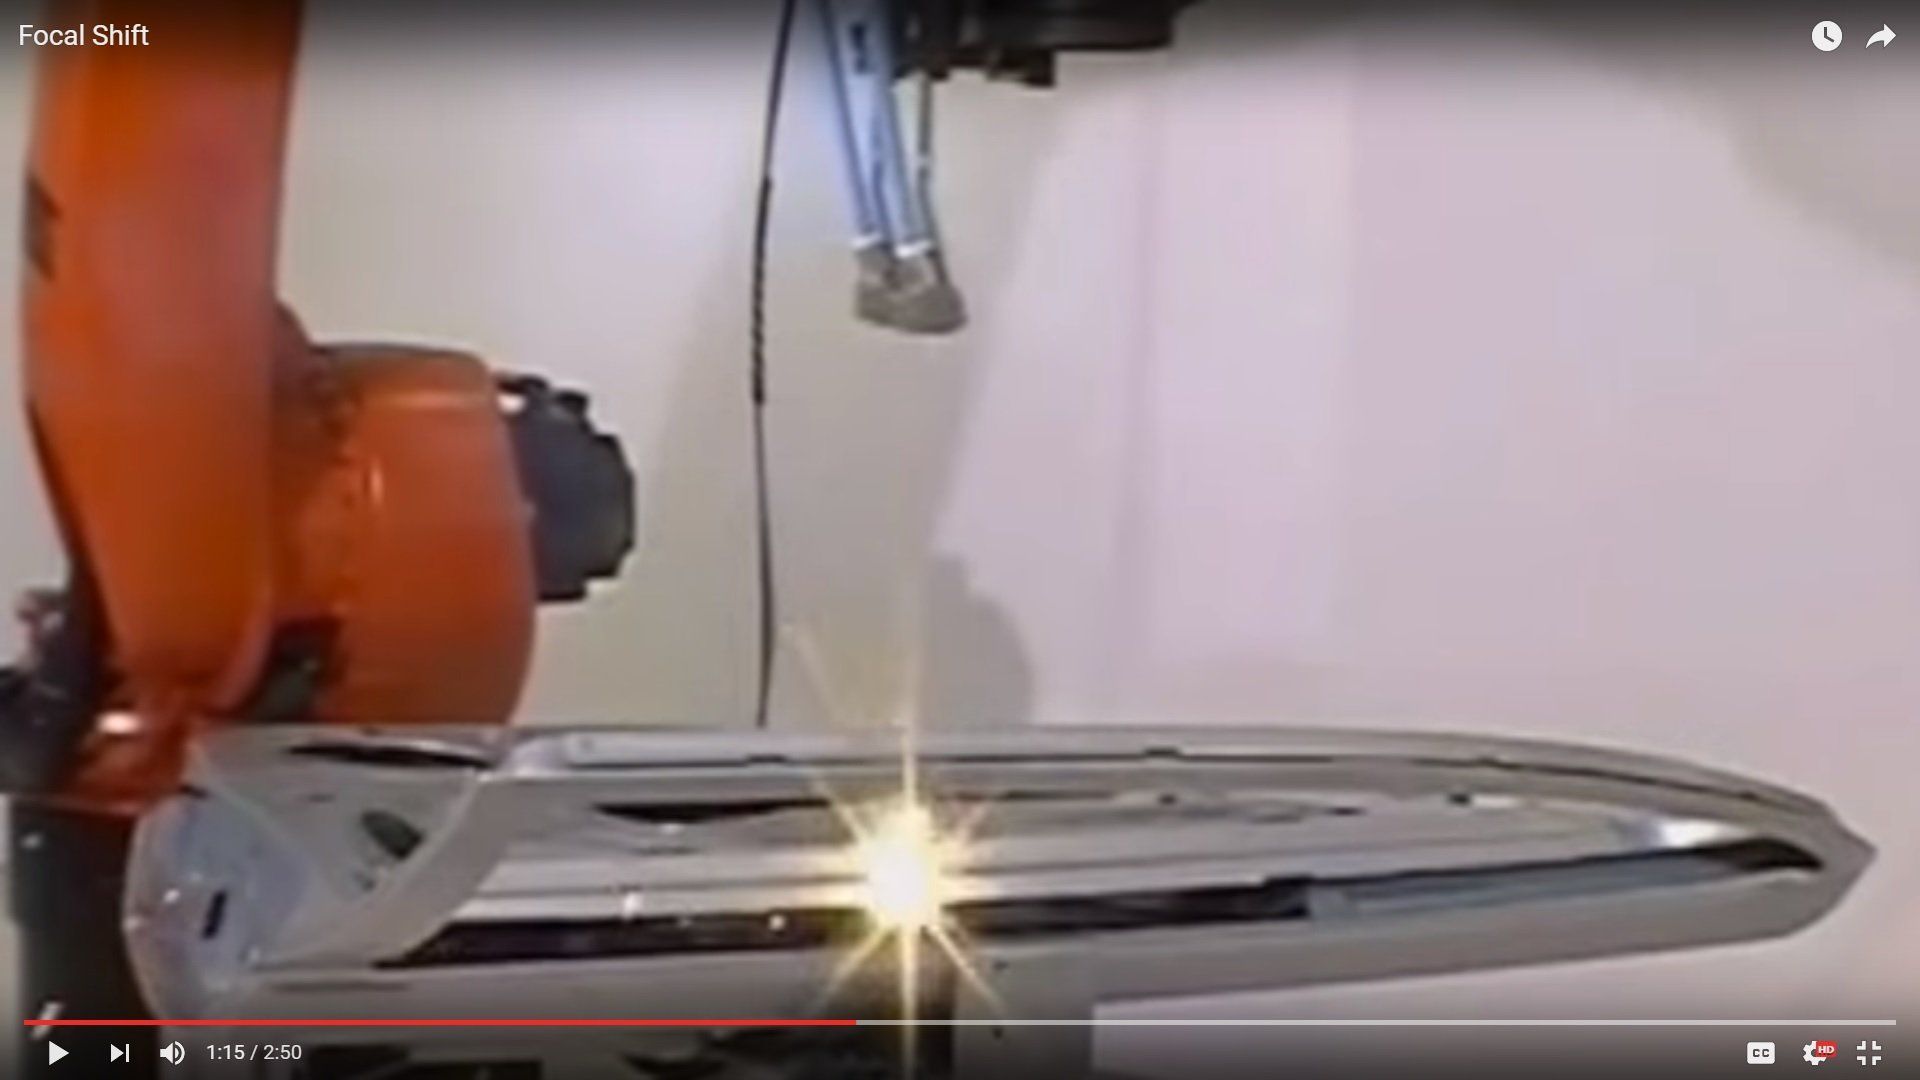
Applications such as laser manufacturing, laser cutting, welding & drilling need accurate measurement of M2. A low M² factor indicates better focusability. In laser welding, this translates to precise energy delivery to the weld zone.
ISO1146 standard for M2 measurement
- ISO 11146-1 measurement for Stigmatic and Simple Astigmatic Beams
- Beam Centering on Camera Sensor
- Beam should be larger than 20 pixels.
- Beam should be less than 1/4 of the narrower sensor dimension.
- Measurements Requirements
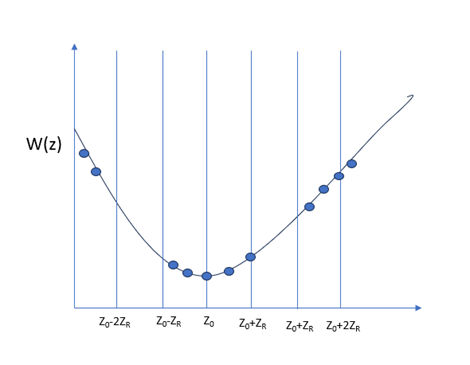
- At least 10 different Z positions.
- Half of the measurements within one Rayleigh length on either side of the beam waist.
- Half of the measurements beyond two Rayleigh lengths from the beam waist.
- For simple astigmatic beams, apply this procedure separately for both principal directions.
BeamSquared software offers an Auto ISO measurement feature that simplifies obtaining an ISO-compliant beam measurement. Here’s how it works:
- Purpose and Process:
- Automated ISO measurement is designed to provide ISO-compliant M² (M-squared) measurements for laser beams.
- It achieves this without requiring manual user inputs.
- The process begins with an initial scan of the beam propagation path.
- Determining Point Locations:
- The system analyzes the beam propagation path during the initial scan.
- If the minimum ISO requirements can be determined with the current configuration, the Automated ISO setup will populate the table with the recommended 11 points.
- These points are distributed according to the ISO 11146 specification:
- Five points are taken around the waist of the beam.
- Five points are taken beyond the 2 Rayleigh range.
- One point is placed at the focal length of the lens.
- Handling Insufficient Information:
- If the minimum ISO requirements cannot be determined during the initial scan, the Automated ISO Setup method will populate automated stepping inputs.
- These inputs include the recommended Zstart (starting position), Zstop (ending position), and Z step values.
- Users have the option to modify these values using the Automated Stepping feature.
The Auto Iso measurement system intelligently determines point locations without requiring manual inputs. This is how laser manufacturers get benefitted from Auto ISO measurement.
- Automated measurements reduce the need for skilled personnel to perform complex measurements
- Laser systems can pose safety risks, and automatic measurement systems can minimize the need for direct human interaction, thus enhancing safety during the measurement process.
- Automation helps in strictly adhering to ISO 11146 standards, ensuring that measurements are in line with international requirements. This is important for certification, regulatory compliance, and maintaining industry standards.
In summary, BeamSquared’s Auto ISO feature enables getting ISO-Compliant M² measurements by intelligently determining point locations without manual inputs. This automation benefits laser manufacturers by reducing the need for skilled personnel, enhancing safety, and ensuring adherence to ISO 11146 standards for certification and regulatory compliance.
For Auto ISO measurement demo you can you can click here: BeamSquared Auto ISO (youtube.com)
Leave a Reply
Your email address will not be published. Required fields are marked *