Additive manufacturing (AM), including selective laser melting (SLM) and 3D printing, relies on its laser source to properly manufacture 3D-printed parts. The laser is at once the most essential element of the system, and the most vulnerable to degradation.
Here are some of the malfunctions that can occur with an unmonitored laser system:
- Optical pass (lens) misalignment can change any beam parameter, in particular beam symmetry and focal spot size.
- Fiber laser overheating due to intensive operation and insufficient chilling can cause wavelength fluctuation, resulting in focal shift.
- Thermal lensing due to overheating of one of the components of the delivery system can cause focal shift and spot size change.
- Optical pass contamination by powder can change the laser intensity and power density distribution.
- Mechanical integrity error of laser actuator can cause error in Z movement and thus focal shift.
- Reduction of diode charge or flash lamp intensity can reduce laser intensity.
It is critical to keep the laser at the power, intensity, and focus parameters that it was designed to be used in the additive manufacturing process. The power level, for example, will determine the structural integrity and efficient use of time and materials.
Since some builds take hours to complete, finding out that the laser is not performing to specifications only after the fact would be a very costly result. By monitoring the laser frequently, changes can be detected before they affect the builds.
According to ISO 11146, these are the main standards for laser quality measurement:
- Focus position (in the z axis)
- Power density
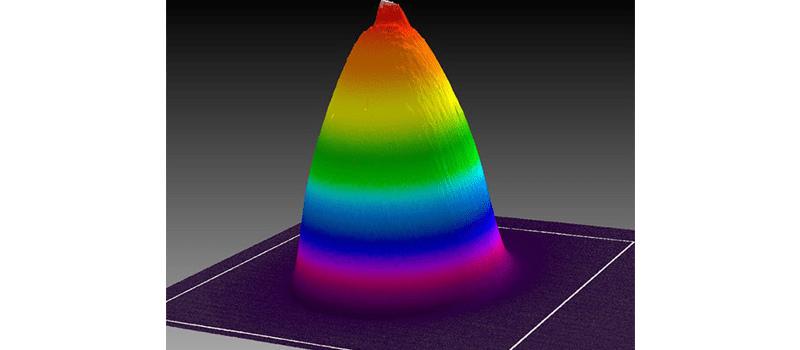
- Beam profile (in the x-y axes)
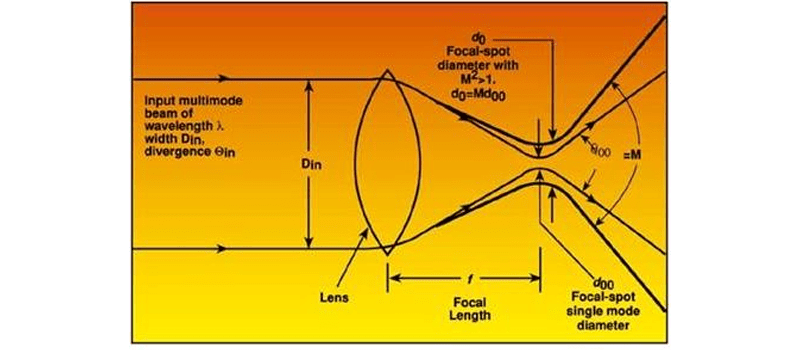
- Spot size and shape
Beam Profiling
There are two broad methods of measuring beam profiles: directly, with a camera; or indirectly utilizing Rayleigh Scattering.
Camera-based beam profiling can provide a more detailed picture of the beam profile, but they have some drawbacks when it comes to profiling high power lasers or trying to detect changes in real time. Their sensitivity requires a high level of attenuation which can distort the beam. It also means that there is a limit to the intensity level that can be measured. It is also limited to profiling the beam in one spot on the z axis, so it takes time to measure the whole caustic (by taking snapshots at key points along the beam propagation path).
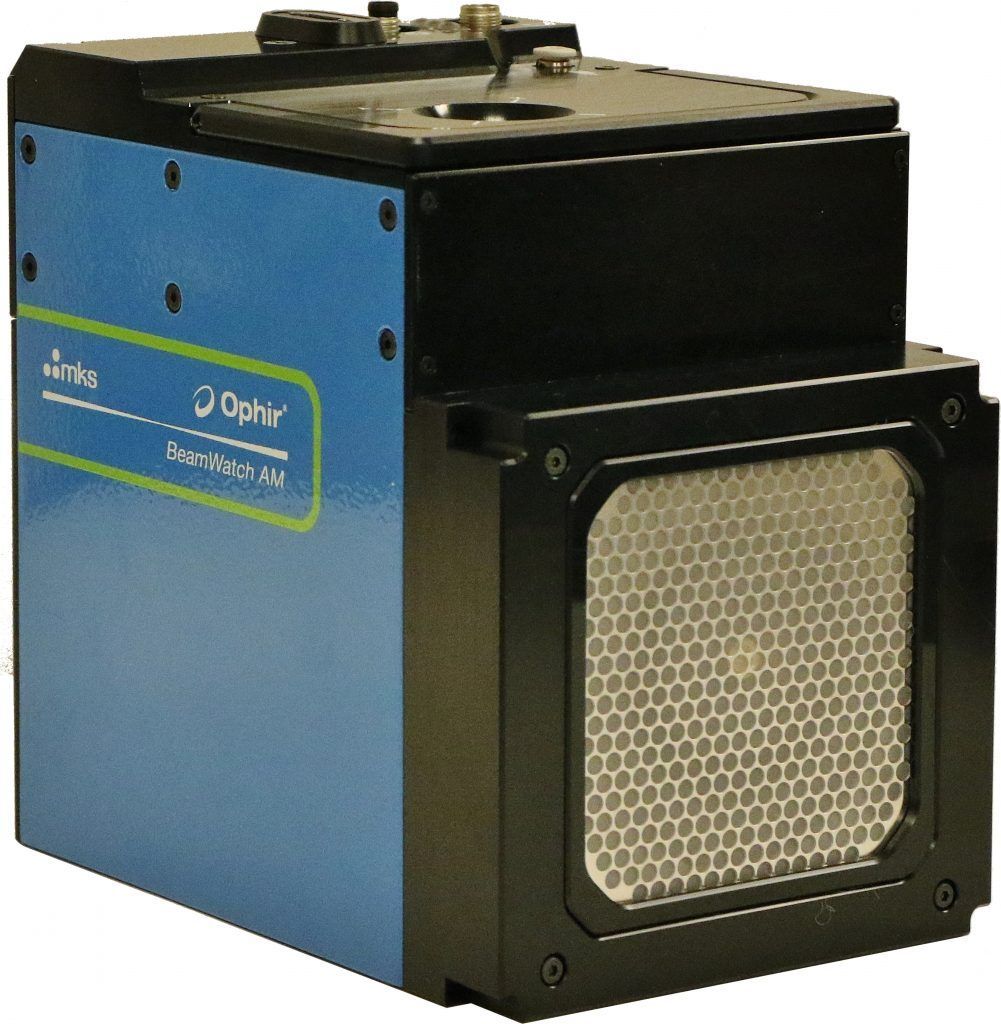
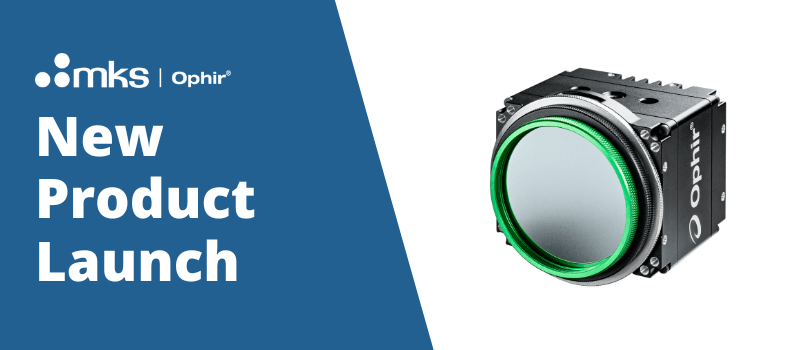
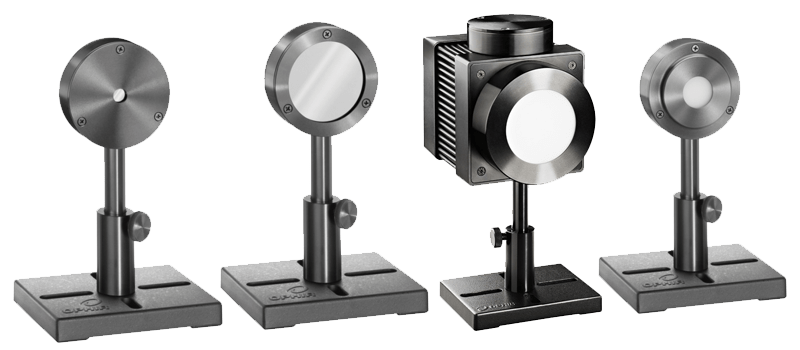
Non-contact beam profiling, like Ophir’s BeamWatch, takes advantage of Rayleigh Scattering to measure the entire beam caustic in one frame, at real-time video frame rates. That means M-squared and other beam quality parameters can be measured as the laser warms up. Focal shift can also be measured well with this technique. Aside from the standard BeamWatch, there is a version specifically made for applications in additive manufacturing. It has a compact design and built in power meter (which can measure up to one kilowatt for two minutes with no fan/water cooling needed). It also is specially designed for AM chambers, with a mechanism to avoid powder contamination.
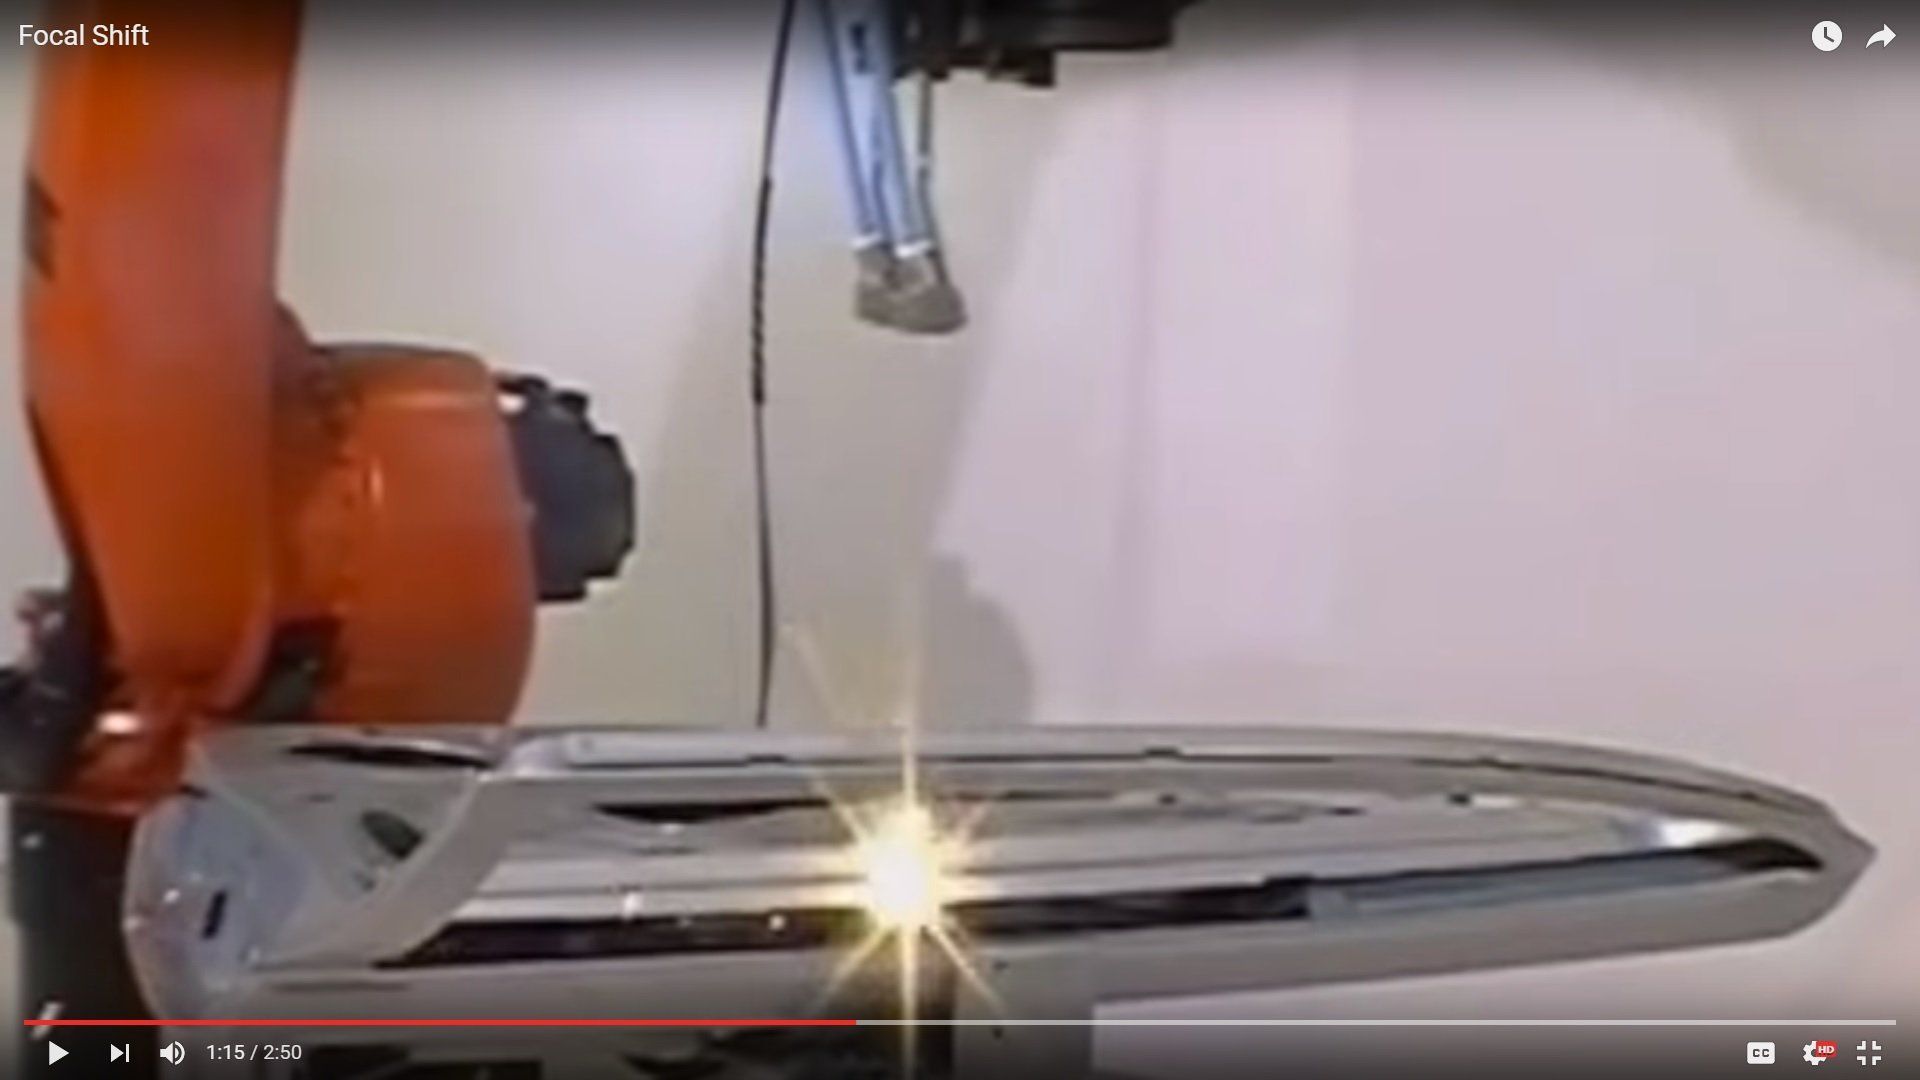
In a recent case, one of our customers noticed quality issues and used BeamWatch to diagnose the problem. They found a 3.2 mm focus shift during the laser system startup. Although the laser protective window looked fine, an expert said it might be the source of the problem. After cleaning it, the focus shift went down to 0.6 mm, which no longer created poor quality parts.
In order to improve the quality of SLM systems and increase efficiency, maintaining proper laser parameters is essential.
Leave a Reply
Your email address will not be published. Required fields are marked *