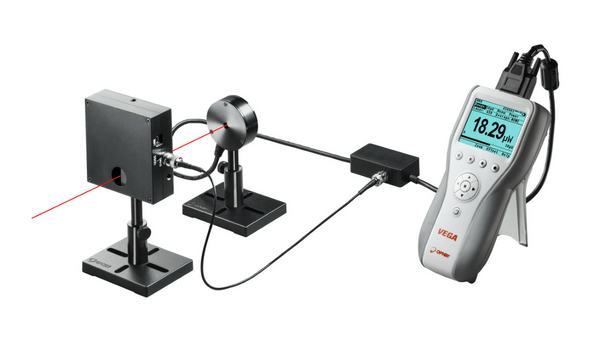
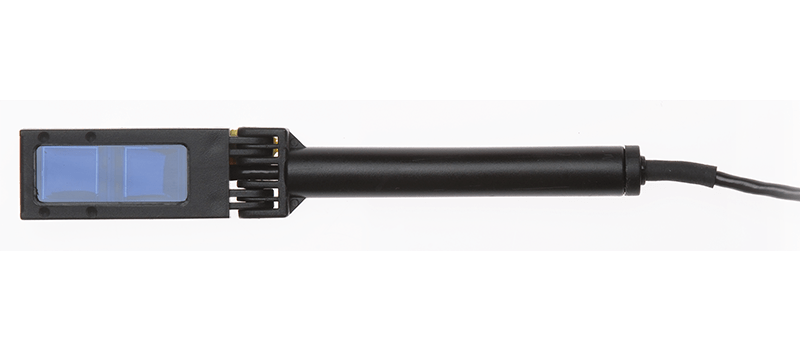
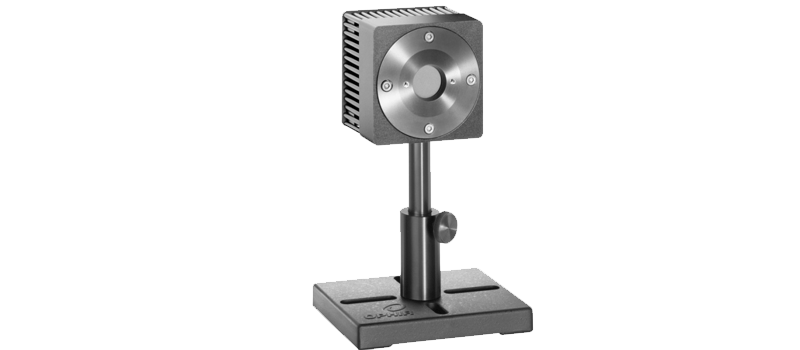
Pyroelectric sensors are very well suited to measure energy of pulsed laser beams.
They have a much, much faster response time than thermal sensors, allowing them to measure individual pulses, at rep rates up to 25 kHz.
They can be used at energies and average powers much higher than photodiodes, which are really only practical for powers in the mW (or lower) and energies in the μJ (and lower).
Ok, so we’re all agreed that pyro sensors fill in an important gap in laser power and energy measurement.
Now that you have your pyroelectric sensor, here are some tips to get the most accurate measurement possible.
Zeroing – More Important than Other Sensors
Zeroing a sensor is usually used to subtract background radiation from the measurement signal.
However, when using a pyroelectric sensor, theoretically there should be no need to zero, since the pyro measures a change. (So background steady-state light has no effect on it.) In practice, it must be zeroed to make sure the sensor and meter have the same baseline.
And since the need to zero is based on the interaction of the sensor and the meter, if you change meters it should be recalibrated.
Proper Sensor Mounting
Remember: pyroelectric sensors measure vibration the same way they measure laser light, so be sure to mount the sensor on a vibration isolated table or use other vibration-reducing components.
Avoid False Triggering
Pyroelectric sensors are sensitive to both pulsed laser light as well as mechanical vibrations. You have to set the threshold properly to avoid false triggering.
The default threshold level for pyro energy sensors is the lowest threshold. This is the recommended setting, but you can raise the threshold if you are getting false triggering.
(You can find more about setting scale and threshold levels in this blog post, which discusses energy measurement with a thermal head. Keep in mind that the rules are different when using a thermal or pyroelectric head.)
Pulse Setting
Most Ophir pyroelectric sensors have various pulse width settings. Each setting is the maximum pulse width allowed at that setting. (Note the longer the pulse width, the lower the max rep rate will be.)
This might go without saying, but it’s important to choose the correct setting for your laser.
Other Settings
Finally, be sure that all the other parameters are entered correctly.
Wavelength selection is important as this tells the meter which calibration point to use. Depending on the sensor coating, choosing the wrong wavelength could lead to significant error in the reading. So don’t do that! 🙂
Besides wavelength, make sure the range is properly selected. Best practice is to select the lowest range that is still above your expected laser pulse energy.
That’s It
Now go measure your laser!


Leave a Reply
Your email address will not be published. Required fields are marked *