Laser-based additive manufacturing is transforming industrial processes and opening up new horizons in a variety of application areas. In the aerospace and automotive industries, for example, it makes it efficient to manufacture intricate parts according to lightweight construction principles; in medical technology, it has expanded the range of prostheses and orthoses; and in toolmaking, it shortens the time it takes to implement new requirements.
Long since AM applications have attained a level of maturity that allows for series production – but when it comes to checking the laser beams in the construction chamber, process experts are often presented with major challenges.
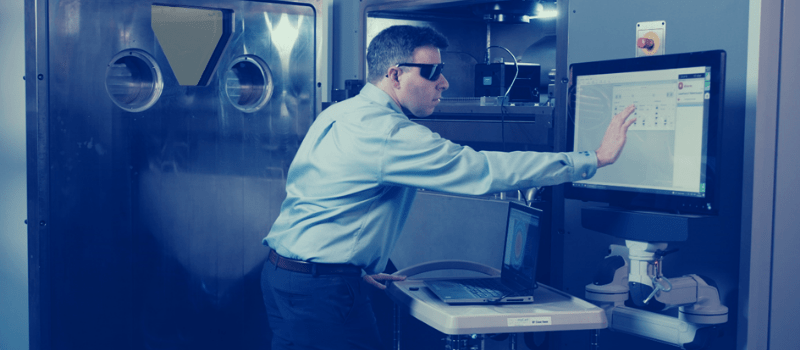
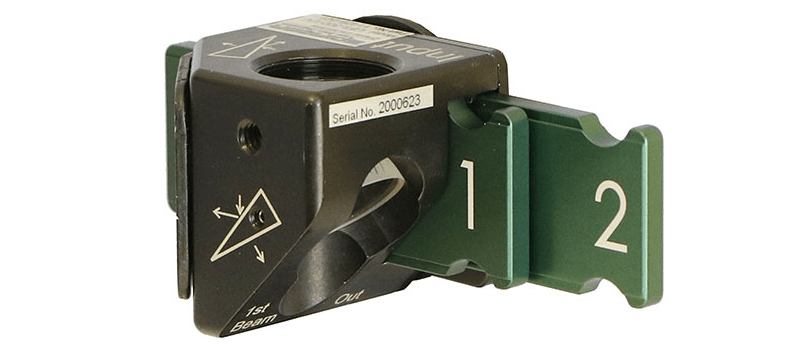
Fortunately, new developments in the field of measurement technology now enable the rapid measurement, directly in the construction chamber, of the kind of high-power laser beams used in selective laser melting (LPBF, or ‘laser powder bed fusion’).
Laser protection with consequences
LPBF systems melt thin layers of metal powder through selective heat input using a fine laser beam. Since metals have a higher melting point than plastics, for example, it takes powerful lasers to melt the powder layers.
For this reason, the melting process must take place within a protected construction chamber, as it is the only way to comply with the safety requirements. At first glance, this seems both straightforward and logical, but it presents other challenges in terms of adhering to the process parameters.
Because LPBF systems are based on state-of-the-art laser technology and usually operate at high power densities, traditional measurement technology for lasers is only of limited use here: either the devices cannot measure all the parameters, they do not fit into the production chamber, or it would take too much time to set them up correctly. This is especially true when, to ensure the comparability of the measurement results, a continuous measuring method is foreseen for all process stages.
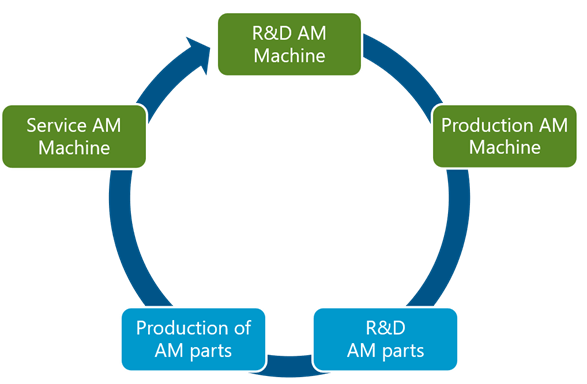
Different measurement methods
LPBF systems are available from numerous manufacturers, and for larger build jobs, multiple laser systems work together within a build chamber on a single part. Even though – in contrast with other tools – the laser source itself does not wear out, there is often a degradation in quality that occurs as the beam travels from the source to the building plane (see Figure 2).
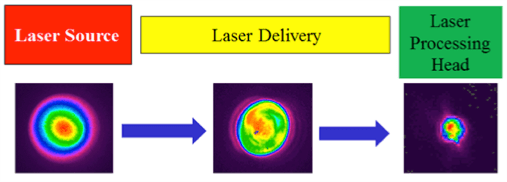
If such changes go undetected, the production quality suffers without being noticed. Particularly in critical components for medical technology, but also with safety-relevant parts for the aerospace industry, even the tiniest differences can put the stability of the entire system at risk.
Therefore, close examination of the laser beam should be integral to each and every stage of the manufacturing process. But which parameters should be measured, and which measurement methods are practicable for this purpose?
These are the parameters used to evaluate a laser beam:
- Power and energy
- Spatial intensity distribution
- Focus position
- Beam quality
- Divergence
- And: the stability of these parameters over time
To keep reading – please go to full article.


Leave a Reply
Your email address will not be published. Required fields are marked *