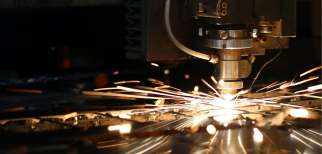
High power, industrial laser systems are a large investment. Factories purchase and install laser systems to improve their production time or quality, usually both. These lasers typically can deliver on their promise of high production quality. Over time, though, thermal effects as well as dust and debris from the factory floor can contaminate or change the laser optics. For this reason, it is crucial to check the production quality frequently.
However, it is not easy to test the parts produced. In order to test laser welded materials, either an ultrasound or destructive material test is required. Both cost time and resources, so it is prohibitive to do this too frequently.
If testing the component is not viable, the alternative is to monitor the laser cutting or welding machine itself to ensure it is still operating at its initial parameters. In particular, it is very important to maintain a consistent beam profile of the laser beam at focus.
But how can one measure a multi-kilowatt laser at its focal spot, when its power density will be quite high? Lasers meant for welding sheet metal will easily damage cameras. Although beam splitters and attenuating filters can be used, we suggest a more elegant solution:
Non-contact Beam Profile Measurement
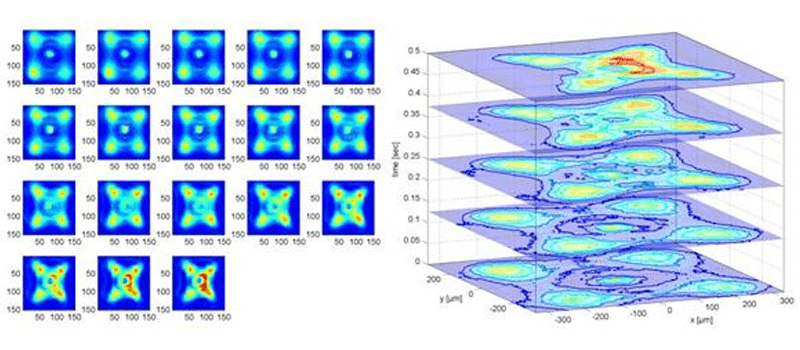
Ophir Spiricon developed BeamWatch, which is a solution that uses the properties of Rayleigh scattering to monitor the beam profile along its caustic (including focal point) in order to view focal size and shift, in real video frame rates.
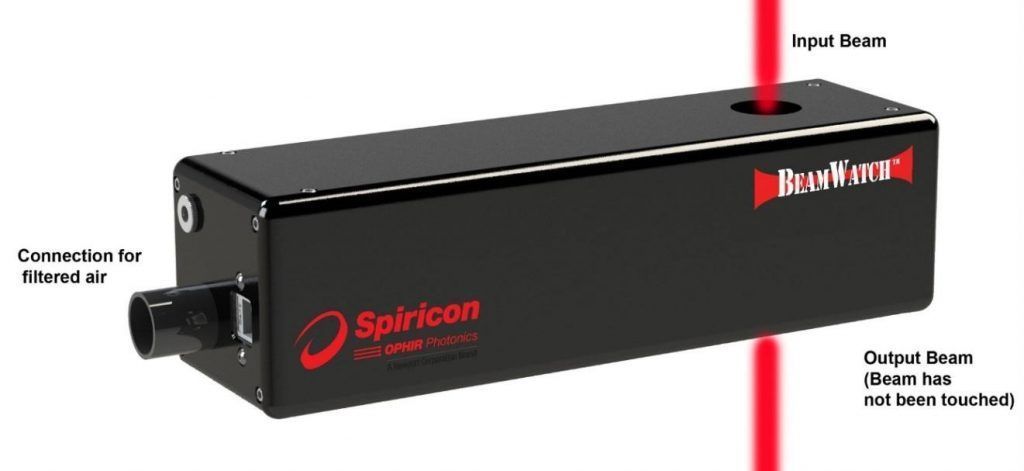
Since the laser passes through an opening in BeamWatch, there is no practical limit on laser power. A beam profiling camera inside the measurement system catches the Rayleigh scatter in order to measure a 1D intensity profile at many points along the beam caustic.
BeamWatch calculates beam-quality parameters according to ISO 13694 and ISO 11146 standards, including:
- Focus diameter
- Focus position
- Divergence
- Ellipticity
- M² (1/k)
- Beam parameter product (BBP)
Because BeamWatch is both non-contact and operates in real time, it can be used to monitor the laser between each component processed, ensuring high quality is maintained throughout. The short measurement time means that the laser beam can even be checked automatically during the loading/unloading phase. This avoids the necessity for costly recalls and time-consuming floor shutdowns. With frequent monitoring, one can see any problems arising in the laser system long before they affect the process or results, and plan accordingly.
Why should one accept production risks when they can be reliably avoided with so little effort?



Leave a Reply
Your email address will not be published. Required fields are marked *