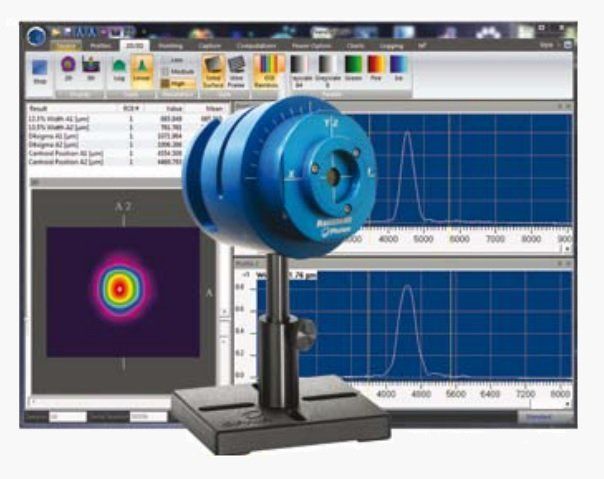
Ophir’s BeamSquared Beam Propagation Analyzer is a compact tool that can scan a laser beam and give you the main beam parameters, for both continuous-wave and pulsed lasers. You can select whether to make the measurements manually or automatically. In Automatic mode, it can give you the beam’s characteristics for the minimal 11 points, as required by the ISO 11146 specification: M2, divergence, beam parameter product, and Rayleigh length–in as quickly as one minute!
In the fully-automatic mode, the BeamSquared doesn’t require any input on your part–all you have to do is just align it and click! It scans the beam propagation path automatically, and determines the best locations for getting a beam profile that conforms to ISO requirements.
If, for some reason, the fully-automatic mode doesn’t give sufficient data, BeamSquared switches automatically into “Automated Stepping Mode”. You just have to enter the start, stop, and step parameters, and you let the BeamSquared do the rest!
Choosing the BeamSquared That’s Right for You
Ophir offers two BeamSquared analyzers. Both collect data in under 1 minute, and are suitable for continuous usage.
1) BeamSquared SP920, for wavelengths ranging from 266 nm to 1100 nm, with 1624 x 1224 pixel resolution with a 4.4 µm pixel pitch.
2) BeamSquared XC130, for 900 nm to 1700 nm wavelengths (NIR and Shortwave IR).
Both of these models come with a camera and lens system. (For those who already have a suitable camera, there is also the option to select a beam analyzer without the accompanying camera.)

Once you have determined the best BeamSquared for your particular laser, you install the BeamSquared software on your computer. The software can be run on a 64-bit computer running either Windows 7 or Windows 10.
The software allows you a choice of 4 options:

BeamSquared Data Collection Options
Automated ISO Setup
This setting selects 11 points along the beam propagation axis Z, as required by the ISO 11146 standard:
- 3 equidistant points are selected within one Rayleigh length (“+R1”) of the beam waist (= the narrowest section of the beam),
- 2 points are selected at the X-axis beam waist and Y-axis beam waist,
- Another 6 equidistant points beyond two Rayleigh lengths (“+R2”) from the beam waist.
- An 11th point is measured at the lens’ Effective Focal Length (= EFL)—See Figure 3:

The data is then used to fill out the Step Table, and a graph is made of the beam widths at the respective data points:

Automated Stepping
There are instances where the BeamSquared can’t find adequate points to fill up the Step Table. Some reasons may include:
- The beam being too bright/dim, or too small/big at the Effective Focal Length
- A misaligned beam
- Not being able to find a valid point within 1mm of the Effective Focal Length
- Excessively high astigmatism
In such cases, the Automated ISO Setup will populate the Automated Stepping inputs with recommended Z-start, Z-stop, and Z-Step values.
Four Cuts
This method is suitable for beams with minimal astigmatism and divergence. A set of four points is selected at various distances from the beam waist, and a measurement of the beam diameter (a “cut”) is made at each of these points. This method provides M2 data more quickly than other manual methods.
Step Table
When selecting the Step Table setting, the user provides data points along the Z-axis, for the BeamSquared to measure the beam parameters, and get the M2 data. You can provide as many data points as you feel necessary.
References
https://www.ophiropt.com/user_files/laser/beam_profilers/WhatIsM2.pdf



Leave a Reply
Your email address will not be published. Required fields are marked *