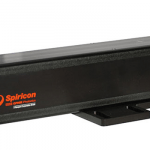
Ophir BeamPeek, integrated power measurement and beam profiling
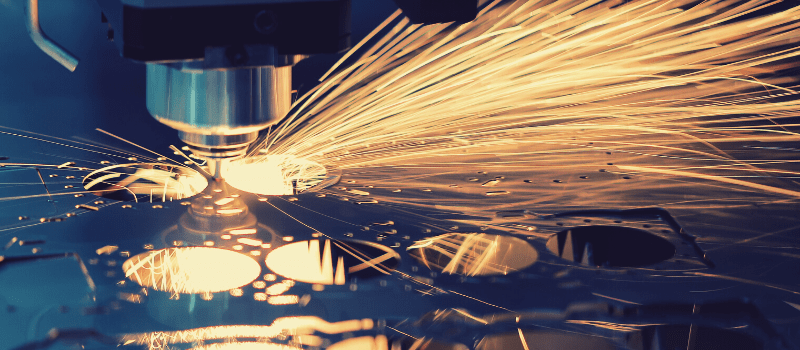
In laser powder bed fusion (LPBF) processes, metal powder is selectively melted layer by layer using a laser beam. With layer thicknesses of typically 30 to 120 µm, exact adherence to the predefined beam parameters is an essential prerequisite for ensuring that the structures generated exhibit the required stability.
But how can one check all the relevant beam parameters on the building plane in a manufacturing plant? In fact, this very question has long posed major challenges to engineers in development, especially with the ever-increasing laser powers used in selective laser melting.
“Confined spaces, metal powder in the build envelope, and high powers — the conditions for measuring the laser beam could hardly be worse,” explains Nicolas Meunier, Ophir Business Development Manager for Additive Manufacturing, Automotive and High Power. “Now, for the first time, Ophir BeamPeek makes it possible to capture beam profile, focus spot and power – all in one operation. For service technicians and proficient users alike, this greatly simplifies process control in additive manufacturing.”
Innovative technology with no active cooling
Laser beams as a machining tool have the advantage that they can be flexibly shaped by employing the right optics. In addition, different wavelengths can be selected according to the material and application, and the power density of the laser beam can be adjusted at the machining level. The wide range of practical applications is driving further development of the technology.
It is important to note that the power of the lasers used in selective laser melting has been steadily increasing. Nicolas Meunier explains why this poses a hurdle in terms of measurement: “To measure the power of a laser in the kilowatt range, it usually requires a water-cooled sensor. However, a water supply within the building chamber is both difficult to implement and carries risks. For the BeamPeek system, we developed a novel technology that avoids this.”
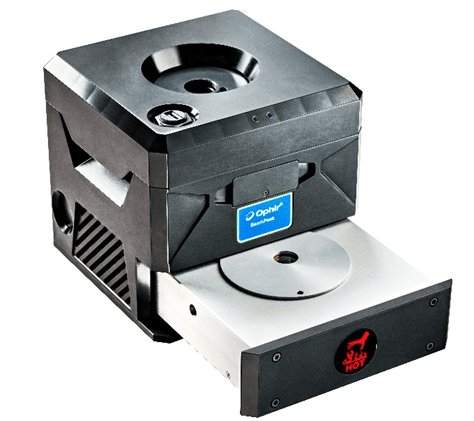
The laser beam hits a replaceable passive cooling beam dump in the measuring device in the form of a separate plug-in unit. The generated heat is absorbed by a solid aluminum block. In this way, laser powers up to 1kW can be measured for up to two minutes by one of the plug-in units – without any active cooling. If the beam trap heats up too much while measuring a laser beam, a warning indicator lights up on the device. The plug-in unit can be easily removed, cooled externally and then reinserted. Alternatively, a second plug-in unit can be kept at the ready; as soon as this is inserted, the next measurement is immediately carried out. By separating the beam trap from the actual measuring technology, the temperature inside the measuring unit itself only increases by a maximum of 2.5 degrees Celsius per minute, even at a power of 1 kW.
Integrated measurements in seconds
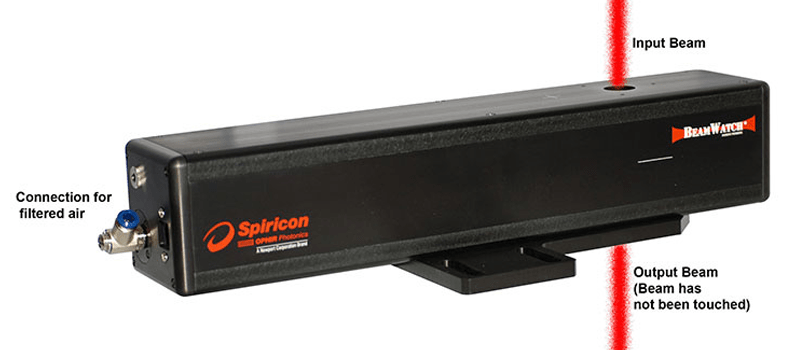
Technically, the BeamPeek measuring device combines power measurements with beam profile analysis. Thus, developers, service technicians, and experts can obtain a comprehensive picture of the laser beam being used.
The beam enters into the interior of the measuring device through an aperture, whereupon a beam splitter directs one part to a camera, another part to a power meter, and the remainder – about 96% of the beam – to the beam trap. The integrated camera captures the overall profile of the beam and delivers the data to the analysis software via the USB interface. In just three seconds, all relevant beam parameters are made available, including divergence, focus position, and focus size. Furthermore, the integrated power sensor reports the power of the beam to the analysis software.
Practical application advantages
“The laser beam must be measured quickly and — especially in production environments — without needing complicated prep work. This is true for all industries,” explains Nicolas Meunier, adding, “For selective laser melting, we deliberately designed the device so that all active components inside the measuring device are protected from dust and particles.” The laser beam can be measured directly after each build job without first having to clean the chamber.
Further flexibility in the application of the instrument is guaranteed, since in addition to NIR lasers with 1030-1080nm, the BeamPeek system can also measure green lasers with a wavelength of 532nm. Green lasers are used, for example, in additive manufacturing of ultra-fine copper structures. This allows the production of more efficient cooling channels for heat exchangers that are used to keep high-performance electronic components from overheating.
Especially for producers of additive manufacturing systems, the new measuring device is ideal for taking measurements in the field. Ophir BeamPeek complements MKS’s portfolio of laser measurement devices for the AM sector.
Ophir Ariel Power Meter: Measurement technology keeps pace
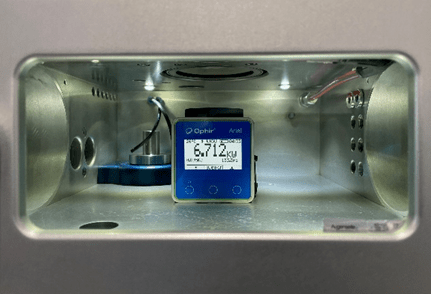
Last year, MKS took a significant step towards optimizing the process for selective laser melting: The Ophir Ariel power meter, which was introduced in early 2021. It is a device that operates autonomously within the closed construction chamber of an additive manufacturing plant. It requires neither a power connection nor a cabled monitor in order to carry out its measurements. The construction chamber can remain closed during the entire measurement process, since the measurement data can be read directly on the integrated display or transmitted to a mobile display via Bluetooth.
“For the first time ever, the Ariel power meter allows users to regularly check the power of the laser beam between construction jobs. If any anomalies are detected, the causes can be quickly identified and eliminated. This means that construction errors due to fluctuating laser power can be avoided,” explains Nicolas Meunier. He continues, “Going one step further, the BeamPeek measuring device is not only well-suited for detecting anomalies, but also for performing regular maintenance on the laser systems. From the large number of parameters that are measured and tracked over time, one can draw specific conclusions about the quality of the laser beam on the building plane – and thus about the quality of the process.”





Leave a Reply
Your email address will not be published. Required fields are marked *