Best Focus and Minimum Spot Diameter
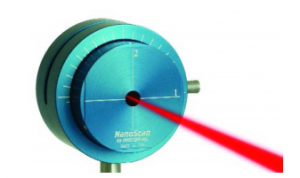
Using a NanoScan and standard optical accessories, acceptance testing and final system performance of a lens, lens assembly, optical subsystem, or overall system test may be measured. The NanoScan was developed to quickly and accurately evaluate a real-time measurement of an spatial image. This is done by evaluating the energy distribution of the spatial profile and measuring the beam size.
An image is considered in focus when you have a concentration of the largest amount of energy within the smallest spot size. Although there are many techniques for evaluating optical sub-assemblies such as a knife edge, Ronchi rulings, and interferometers, they tend to be time consuming or costly. The NanoScan has been engineered so that the non-optical engineer or technician can use it to its maximum potential with little training.
The NanoScan uses a scanning-slit aperture sweeping at 10Hz and a fixed large-area detector to obtain an intensity profile of the beam. It is a symmetric design, so rotation of the entire scan head may be made by a single lever allowing measurements anywhere between 0° and 180° through the beam. The control unit detects the peak intensity, while the user selects the measurement clip level (FWHM, 1/e, 1/e 2 of choice via Photon’s software interface)
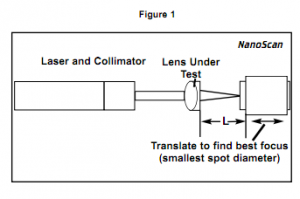
Figure 1 illustrates the general setup to measure best focus of a lens. The lens is positioned near the given approximate focal length. The lens is brought into focus onto the NanoScan slit plane by looking for the minimum spot diameter.
The spot is then centered using the XYZ translation stage attached to the NanoScan. By varying the separation of the lens and detector, best focus is located when the displayed beam size is smallest.
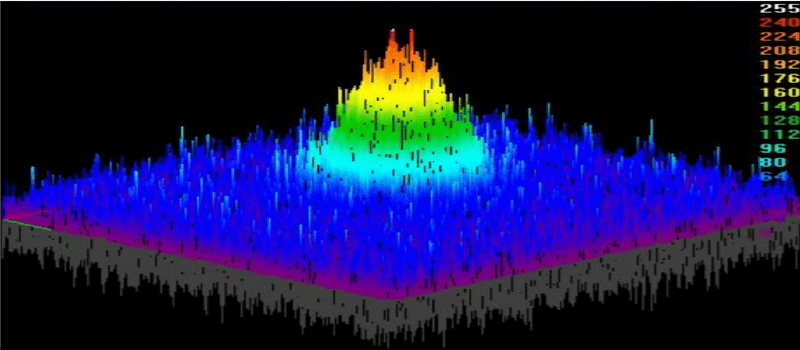
As an example, a positive lens with a focal length of 0.2 inches was selected for testing. The light source was a HeNe (Helium-Neon) laser with a power output of 1.8mW and a beam diameter of 580μm at the 1/e 2 points. A 2.5μm slit was selected. For each of 19 positions through the focus waist, a beam diameter value was averaged 20 times. The focal position can be detected to within the nearest 0.25×10 -3 inches, which is 0.125% of the 0.2 inch focal length. The beam diameter minimum was 10.25μm. For production lens testing, the change in spot size from lens to lens and the focal position can be used as quality test parameters.
-courtesy of www.photon-inc.com
Please feel free to comment and add things you have on your list
You might also like to read: Why choose scanning slit based laser BP?
Share this:


Leave a Reply
Your email address will not be published. Required fields are marked *